
Blog
The Art Of Professional Wood Finishing

The Art of Professional Wood Finishing: Merging Craftsmanship with Chemical Science
Wood is perhaps the most versatile and cherished material in the history of human construction and design. From the structural beams of ancient cathedrals to the intricate cabinetry of modern kitchens, wood provides a warmth, texture, and organic beauty that synthetic materials cannot replicate. However, wood is an inherently porous and biological substrate. Without a professional finish, it is susceptible to moisture, UV degradation, mechanical wear, and insect infestation. The art of professional wood finishing is a sophisticated discipline that involves preparing the timber, enhancing its natural grain through staining, and applying protective topcoats. This guide explores the multi-stage process of achieving a master-class wood finish.
Understanding the Biological Nature of Wood
To finish wood correctly, one must understand its cellular structure. Wood is composed of cellulose fibers held together by lignin. These fibers act like microscopic straws, designed to transport water through the tree. Even after the wood is harvested and kiln-dried, these “straws” remain open. This is why wood “breathes,” expanding in high humidity and contracting in dry air. Professional finishing aims to seal these pores while allowing the wood’s natural beauty to remain visible. Different species—such as open-grained Oak and Ash versus closed-grained Maple and Cherry—require vastly different finishing protocols to achieve a uniform result.
The Foundation: Precision Sanding and Surface Preparation
In wood finishing, the quality of the final coat is determined by the quality of the sanding. A common mistake is rushing through the grits or skipping levels. A professional follows a strict progression, typically starting with 80 or 100 grit to remove mill marks and imperfections, then moving to 120, 150, and finally 180 or 220 grit. Sanding beyond 220 on many hardwoods can actually burnish the wood, closing the pores so tightly that stain cannot penetrate.
Directionality is paramount; sanding against the grain creates “cross-grain scratches” that may be invisible to the naked eye but will be garishly highlighted once a stain is applied. Between each grit, the wood must be vacuumed and wiped with a “tack cloth” to remove every microscopic particle of dust. For high-end projects, professionals use a technique called “raising the grain,” where the wood is lightly dampened with water to make the fibers stand up, then sanded back down once dry. This ensures the wood remains smooth even after water-based finishes are applied.
The Role of Wood Grain Fillers
For open-grained woods like Mahogany or Walnut, achieving a “piano-smooth” high-gloss finish requires the use of grain fillers. Unlike wood putty, which fills holes, grain fillers are thin pastes rubbed into the pores of the wood to level the surface. Without a filler, the topcoat will “sink” into the pores, creating a pitted or orange-peel texture. Modern fillers come in various tints, allowing the finisher to either match the wood color or use a contrasting tone to highlight the architectural movement of the grain.
Chemical Enhancement: Stains and Dyes
Staining is the process of altering the color of the wood while preserving its translucency. There are two primary categories: pigments and dyes. Pigments are microscopic “rocks” suspended in a binder; they settle into the larger pores and grain lines, providing excellent UV protection and depth. Dyes, on the other hand, are soluble chemicals that penetrate the wood fibers themselves, offering a more vibrant and uniform color, especially on tight-grained woods like Maple.
A significant challenge in staining is “blotching,” which occurs in softwoods like Pine or porous hardwoods like Birch. These woods absorb stain unevenly, resulting in dark, muddy patches. Professionals prevent this by applying a “pre-stain conditioner” or a wash-coat of thinned shellac. This partially seals the wood, ensuring that the subsequent stain is absorbed at a consistent rate across the entire surface.
Topcoat Selection: Protection and Sheen
The topcoat is the sacrificial layer that protects the wood from the world. The choice of topcoat depends on the intended use of the item. Common professional options include:
- Polyurethane: The most popular choice for floors and tabletops. It is a plastic resin that provides extreme durability and resistance to water and chemicals. It is available in both oil-based (which ambers over time) and water-based (which stays crystal clear) versions.
- Lacquer: The standard for professional cabinetry. Lacquer dries incredibly fast, allowing for multiple coats in a single day. It “melts” into previous layers, creating a seamless film that is easy to repair.
- Varnish: Often used in marine environments, varnish contains a high percentage of oil and resins, making it more flexible and UV-resistant than polyurethane.
- Shellac: A natural resin secreted by the lac bug. It is non-toxic, dries quickly, and is an unparalleled sealer for blocking odors and oils. However, it is sensitive to heat and alcohol.
- Rubbed Oils: Danish oil or Tung oil provide a “close-to-the-wood” feel. They do not form a thick film but rather soak into the fibers, offering a matte, organic look that is easy to maintain but requires periodic re-application.
Advanced Application Methods
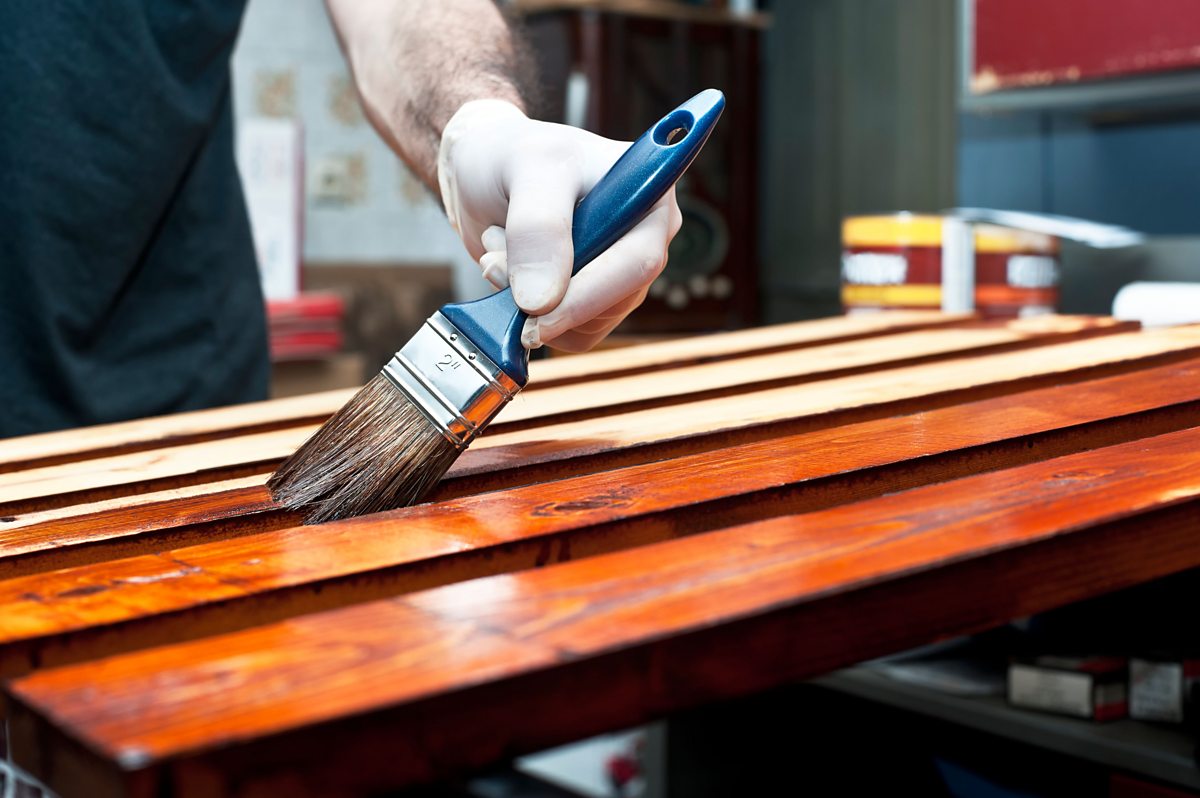
While DIY projects often rely on brushes, professional wood finishing frequently utilizes spray systems. High-Volume, Low-Pressure (HVLP) sprayers allow for the application of an atomized mist of finish, resulting in a perfectly level surface without brush marks or “roping.” When brushing is necessary, professionals use natural China bristle brushes for oil-based products and synthetic Taklon or nylon brushes for water-based coatings. The technique involves “laying on” the finish and then “tipping off” with a light, vertical stroke to release any trapped air bubbles.
The Importance of “Between-Coat” Sanding
A professional finish is never achieved in a single coat. Usually, three to five coats are required. Between each coat, the surface must be lightly scuffed with high-grit sandpaper (320 to 400 grit) or a fine abrasive pad. This serves two purposes: it removes “dust nibs” (tiny particles that settled in the wet finish) and it provides mechanical “tooth” for the next layer to bond to. This cumulative process builds a deep, “lustrous” finish that appears to have physical depth.
Rubbing Out the Finish
The final step for a true “showcase” piece is the “rubbing out” process. Once the final topcoat has cured for several days or weeks, the finisher uses progressively finer abrasives—up to 2000 grit or even automotive polishing compounds—to achieve the desired sheen. Whether the goal is a muted, sophisticated satin or a mirror-like high gloss, this mechanical polishing ensures the surface is perfectly flat and free of any textural imperfections.
Safety and Environmental Considerations
Professional wood finishing involves chemicals that require careful handling. Many oil-based finishes and lacquers release high levels of Volatile Organic Compounds (VOCs), requiring the use of respirators and specialized ventilation. Furthermore, the risk of spontaneous combustion is a major safety concern; rags soaked in linseed oil or oil-based stains generate heat as they dry. Professionals always submerge these rags in water or spread them flat to dry in a safe area to prevent fires.
Increasingly, the industry is moving toward water-borne finishes. These modern coatings offer durability that rivals traditional oils but with significantly lower toxicity and environmental impact. They are non-flammable and clean up with simple soap and water, making them ideal for residential interior projects.
Restoration vs. Refinishing
A professional finisher must also be a conservator. When dealing with antique wood, “refinishing” (stripping the old finish to bare wood) can often destroy the piece’s value and “patina.” In such cases, restoration—which involves cleaning the original finish and “re-amalgamating” it with solvents or applying a fresh coat of wax—is the preferred path. Knowing when to preserve the history of the wood and when to start fresh is a hallmark of professional expertise.
Conclusion
Professional wood finishing is a meticulous marriage of art and chemistry. It requires a tactile understanding of different wood species, a disciplined approach to surface preparation, and a deep knowledge of modern coating technologies. A well-finished piece of wood is not just a functional object; it is a testament to the beauty of the natural world, preserved and enhanced by human skill. Whether it is a grand mahogany dining table or a simple oak floor, a professional finish ensures that the wood will continue to tell its story for generations to come, standing resilient against the passage of time and the rigors of use.