
Blog
How to Replace a Ceiling Light

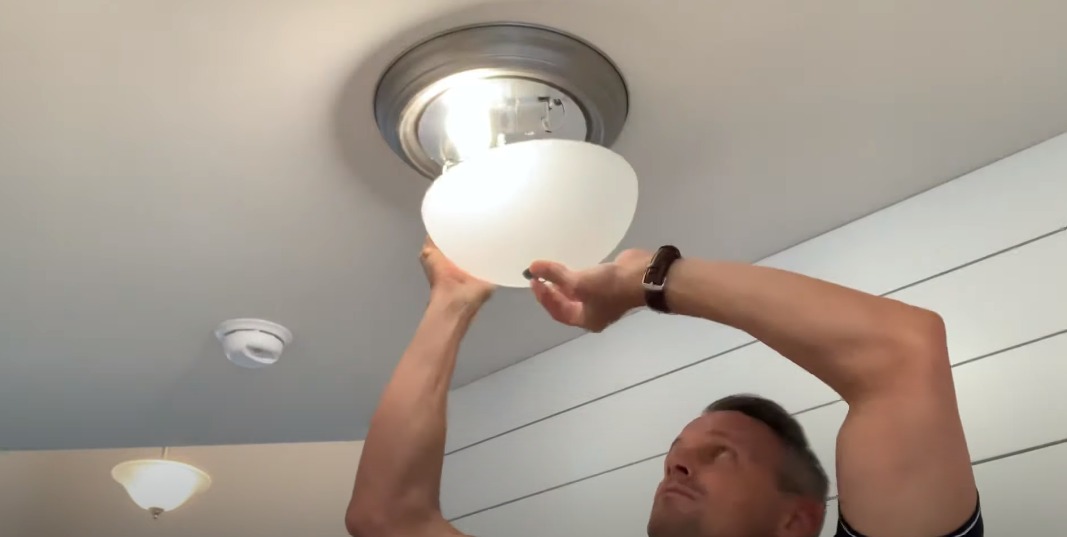
How to Replace a Ceiling Light Fixture (Complete DIY Guide)
Replacing a ceiling light fixture is a common home improvement task that can refresh the look of a room and improve lighting. Whether you are upgrading to a modern fixture, adding more illumination, or replacing a damaged light, this DIY project can be done safely with basic tools and some careful planning.
Although working with electricity requires caution, following proper safety procedures ensures that most homeowners can replace a ceiling light fixture in under an hour.
Tools and Materials You Will Need
- Flathead and Phillips screwdrivers
- Ladder or step stool
- Voltage tester
- Wire stripper
- Electrical tape
- New ceiling light fixture
- Wire nuts (usually included with the fixture)
- Protective gloves (optional)
Step 1: Turn Off the Power
Before starting any electrical work, safety is crucial. Turn off the circuit breaker that powers the ceiling light you will be working on. Confirm the power is off by flipping the existing switch and using a voltage tester at the fixture to ensure no electricity is flowing.
Step 2: Remove the Old Fixture
Start by removing any decorative covers, globes, or bulbs from the existing light fixture. Then, unscrew the fixture’s mounting screws from the electrical box in the ceiling. Gently lower the fixture to expose the wiring.
Support the fixture with one hand while disconnecting the wires to prevent it from falling.
Step 3: Disconnect the Wires
Most ceiling fixtures have three wires: black (hot), white (neutral), and green or bare copper (ground). Unscrew the wire nuts and separate the fixture wires from the home wiring.
Take note of which wires are connected together to help with installing the new fixture. Taking a photo can also be helpful.
Step 4: Prepare the New Fixture
Unpack the new ceiling light and read the manufacturer’s instructions. Check that all mounting hardware is included. Some fixtures require assembling parts like arms, globes, or shades before installation.
Step 5: Connect the New Fixture Wiring
Attach the wires from your ceiling to the wires on the new fixture using wire nuts:
- Black to black (hot)
- White to white (neutral)
- Green or bare copper to the ceiling’s ground wire
Wrap connections with electrical tape for extra security and ensure that no bare wire is exposed.
Step 6: Mount the New Fixture
Carefully push the connected wires into the electrical box. Secure the fixture to the ceiling using the mounting screws included with your light fixture. Make sure the fixture is level and firmly attached to prevent wobbling.
Step 7: Install Bulbs and Covers
Install the recommended light bulbs and reattach any globes, shades, or decorative covers that came with your fixture. Ensure that all parts fit securely without forcing them.
Step 8: Restore Power and Test the Fixture
Turn the circuit breaker back on and test your new ceiling light. Flip the switch to ensure the light operates correctly. If it does not, turn off the breaker and double-check all wiring connections.
Tips for a Successful Ceiling Light Replacement
- Use a sturdy ladder or step stool to reach the fixture safely.
- Have a helper hold the fixture while connecting wires, especially for larger or heavier lights.
- Check that the new fixture is rated for the same voltage as your home wiring.
- Do not overload the fixture with bulbs that exceed the recommended wattage.
Common Mistakes to Avoid
- Forgetting to turn off the power before working on the fixture.
- Improperly connecting wires, which can cause shorts or sparks.
- Forcing mounting screws or covers, which can damage the fixture.
- Not supporting the fixture while wiring, risking falls or wire damage.
When to Call a Professional
While replacing a basic ceiling fixture is straightforward, contact a licensed electrician if:
- The wiring appears damaged or frayed.
- The electrical box is loose or not rated for your fixture type.
- The new fixture is heavy and requires additional support.
- You are unsure about connecting wires safely.
Final Thoughts
Replacing a ceiling light fixture is an easy way to improve your home’s lighting and update its style. By following proper safety procedures, using the right tools, and carefully connecting wiring, most homeowners can complete this task quickly and safely.
Regularly updating and maintaining your lighting fixtures not only enhances aesthetics but also ensures your electrical system operates safely. For more complex installations or troubleshooting, professional services like HandyMaldives can provide reliable assistance.