
Blog
How to Replace a Damaged Power Cord or Plug

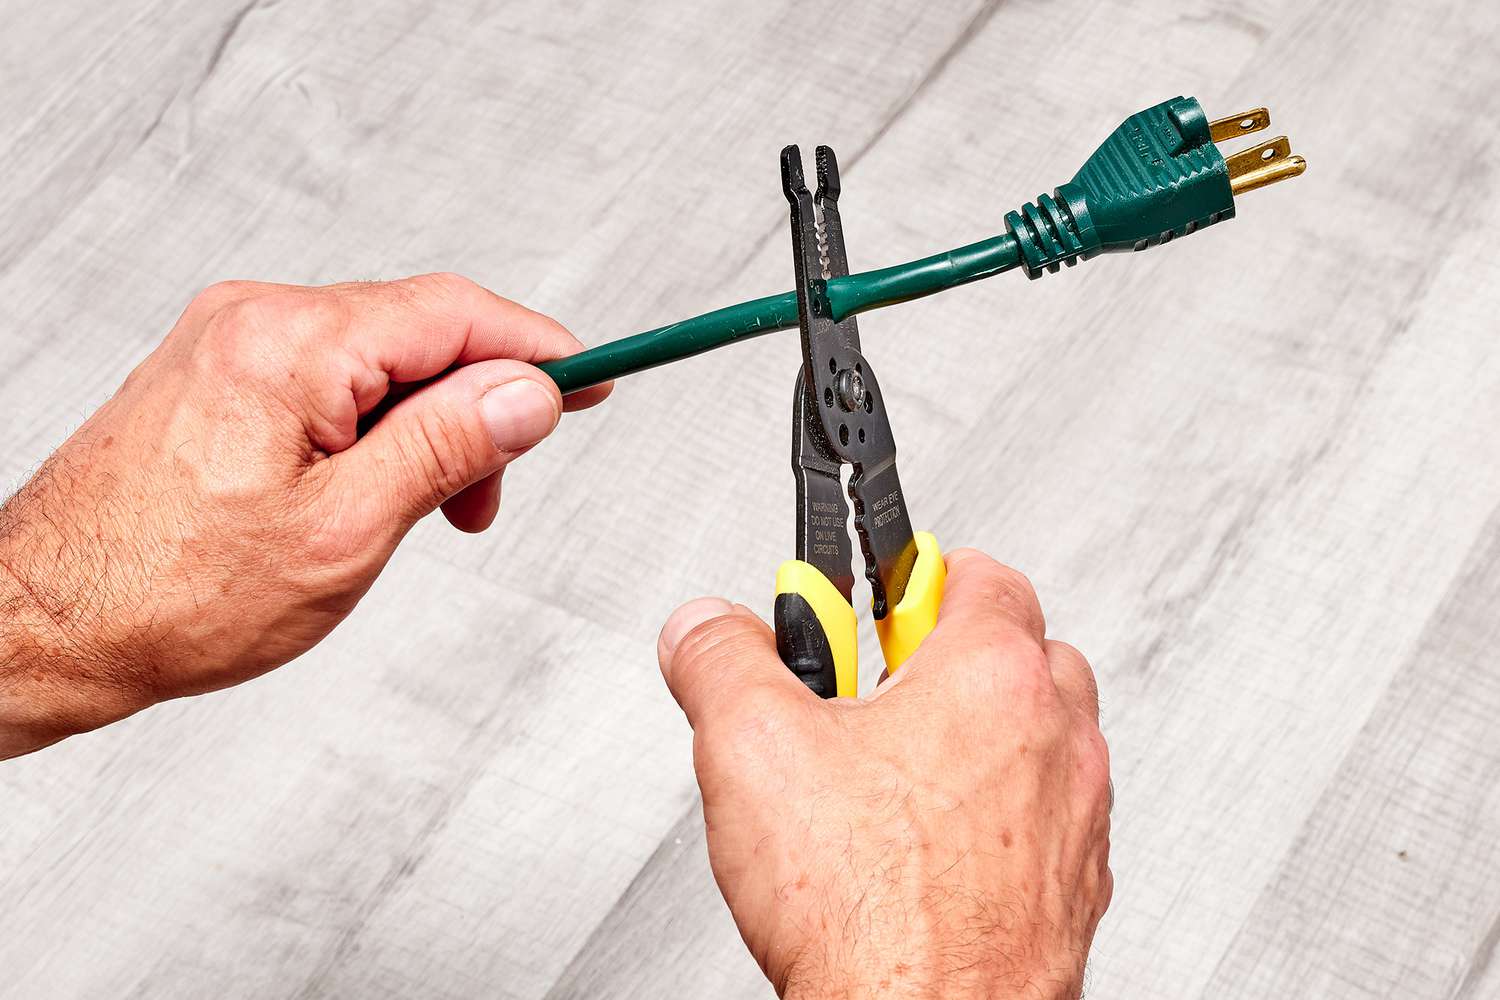
How to Replace a Damaged Power Cord or Plug (Easy DIY Guide)
We’ve all been there: you grab your favorite appliance or gadget, plug it in, and notice the cord is frayed, the plug is cracked, or the wires are exposed. A damaged power cord or plug isn’t just annoying—it can be dangerous. But don’t worry! Replacing a power cord or plug is actually a simple DIY task, and you don’t need to be an electrician to do it safely.
In this guide, we’ll walk you through the process step by step, using easy-to-understand language and helpful tips so you can get your appliance back in action safely.
Why You Should Replace a Damaged Cord or Plug
First off, why not just keep using it for a while? Using a damaged cord can:
- Cause electric shocks
- Start a fire
- Damage your appliance or device
- Void warranties
It’s safer (and smarter) to fix it now rather than deal with bigger problems later.
What You’ll Need
Don’t worry—most of this stuff you probably already have at home:
- Replacement power cord or plug (make sure it matches your appliance’s rating)
- Screwdrivers (usually flathead and Phillips)
- Wire stripper
- Electrical tape
- Needle-nose pliers (optional but handy)
- Safety gloves (optional, but always better safe than sorry)
Step 1: Unplug Everything
This might sound obvious, but it’s worth saying twice: unplug the appliance before doing anything. You don’t want to accidentally shock yourself while working on it.
Step 2: Remove the Old Plug
If your cord has a damaged plug, start by unscrewing the cover and loosening the screws that hold the wires in place. Carefully detach the wires from the old plug.
Pro tip: Take a quick photo of how the wires are connected before removing them. This makes it way easier to connect the new plug correctly.
Step 3: Inspect the Cord
Check the rest of the cord for frays or exposed wires. If the damage is close to the appliance, you might need to cut off the damaged section and strip a bit of insulation from the wires to get a clean, fresh connection.
Step 4: Connect the New Plug
Now it’s time to attach the new plug. Most plugs have three connections: live (brown or black), neutral (blue or white), and ground (green or bare copper).
Here’s the easy way:
- Loosen the screws on the new plug.
- Insert the wires into the correct terminals (refer to your photo if needed).
- Tighten the screws so the wires are secure.
- Double-check that no bare wire is sticking out—this is important for safety!
Optional: Wrap a little electrical tape around the terminals for extra protection.
Step 5: Secure the Plug Cover
Close up the plug cover and screw it in place. Make sure the cord is clamped properly so it doesn’t pull loose when you tug on it.
Step 6: Test Your Appliance
Plug it in and turn it on. If it works and nothing feels hot or smells weird, congratulations—you just fixed it!
Tips to Keep Your Cords Safe Longer
- Don’t bend cords sharply or wrap them tightly around objects.
- Keep cords away from heat sources.
- Check plugs and cords regularly for signs of wear.
- Use extension cords sparingly; they can increase wear on plugs and cords.
When to Call a Professional
Sometimes, a damaged cord might be a sign of a bigger electrical problem, especially if your appliance keeps tripping breakers or sparking. In that case, it’s best to call a professional rather than risk it.
Final Thoughts
Replacing a damaged power cord or plug is one of those small DIY fixes that can make a big difference for safety and functionality. With a few tools and some careful attention, you can have your appliance running safely again in no time.
Remember: safety first, double-check your connections, and don’t hesitate to call a professional if something seems off. Simple maintenance like this keeps your home safer and your devices working longer.