
Blog
How to Fix Smart Video Doorbells That Are Not Ringing or Recording

How to Fix Smart Video Doorbells That Are Not Ringing or Recording
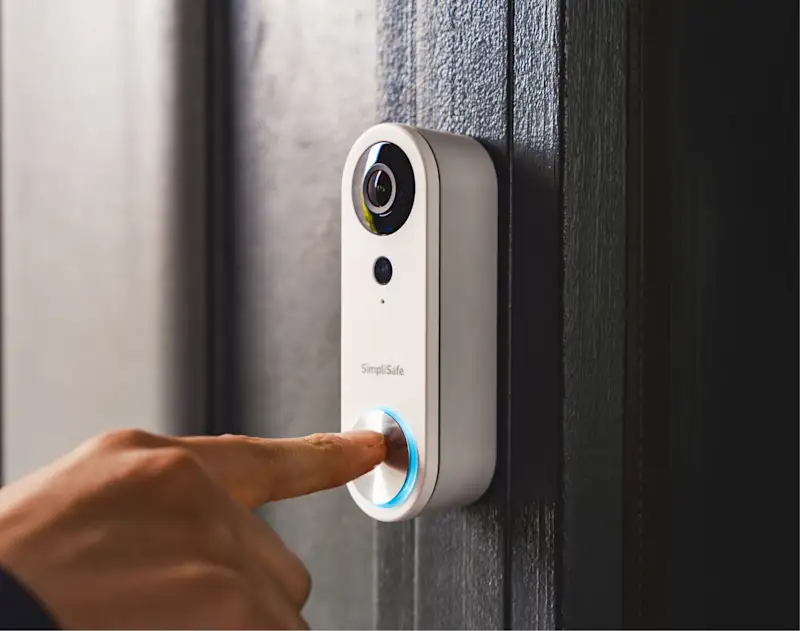
Smart video doorbells have transformed home security, allowing homeowners to see, hear, and speak to visitors from anywhere in the world. Whether it is a Ring, Nest, Arlo, or Eufy, these devices are the first line of defense against “porch pirates” and unwanted solicitors. However, because they are exposed to the elements and rely on a constant high-speed data stream, they are prone to technical glitches. When a smart video doorbell stops ringing or fails to record motion, it leaves a significant gap in your home security.
Troubleshooting a video doorbell requires a mix of electrical checking and network analysis. In this guide, we will cover the most common reasons why smart doorbells fail and provide clear, actionable steps to get your front-door security back up and running. We will look at power issues, mechanical chimes, and the software settings that often cause these devices to go silent.
Common Symptoms of a Failing Video Doorbell
Identifying the specific way your doorbell is failing will help you narrow down the solution quickly. Look for these signs:
- No Mechanical Chime: You press the button, and the outside unit rings, but the chime inside the house stays silent.
- Missed Motion Events: You see a package on your porch, but the camera never recorded the delivery or sent a notification.
- “Black Screen” in Live View: The app connects, but the video stream is black or shows a “Loading” icon indefinitely.
- Delayed Notifications: Someone rings the bell, but you don’t get the alert on your phone until minutes later.
- Offline Status: The device appears as “Offline” or “Disconnected” in your smart home app.
If your doorbell is showing as completely offline, you may want to check our guide on fixing Wi-Fi issues affecting smart home devices for specialized network tips.
Step 1: Verify Power and Battery Health
The number one reason for smart doorbell failure is insufficient power. Unlike a traditional doorbell button, a video doorbell requires a significant and constant voltage to power its camera, Wi-Fi radio, and infrared night vision.
For Battery-Powered Doorbells:
If you use a battery-only model, the cold weather or high-traffic settings can drain the battery much faster than advertised. When the battery drops below a certain percentage (usually 10-20%), the doorbell will disable the Wi-Fi or stop recording video to preserve enough power to ring the chime. Remove the battery and charge it fully before attempting further troubleshooting.
For Hardwired Doorbells (The Transformer Problem):
Most smart doorbells require a transformer that outputs between 16V and 24V of AC power. Older homes often have 10V transformers, which are enough for a simple “ding-dong” bell but not enough for a video camera. Over time, these old transformers can also “leak” voltage, providing inconsistent power.
Use a multimeter to check the voltage at the two wires behind your doorbell. If it reads lower than 16V, you will need to find your doorbell transformer (usually located in the attic, basement, or near the electrical panel) and replace it with a higher-output model designed for smart doorbells.
Step 2: Troubleshoot Mechanical Chime Issues
If the doorbell records video but your internal house chime doesn’t ring, the issue is likely the **Power Kit** or the app settings. Most smart doorbells come with a small “pro power kit” or “chime connector” that must be installed inside your mechanical chime box. This kit regulates the power so that the camera doesn’t accidentally trigger the chime or hum constantly.
Checking the Wiring:
- Ensure the wires inside the chime box are securely attached to the “Front” and “Trans” terminals.
- Check your app settings (e.g., Ring or Nest app) and ensure the “Chime Type” is correctly set to “Mechanical” or “Digital.” If it is set to “None,” the internal chime will never ring.
- If you have a digital chime (one that plays a melody instead of hitting a metal bar), you likely need to install a specific diode on the doorbell button itself.
Wiring issues can sometimes cause the device to reboot or disconnect. For more information on why your devices might be losing their network lease, read how to fix smart home devices that keep disconnecting.
Step 3: Fix Motion Detection and Recording Failures
It is incredibly frustrating to find that your camera missed a delivery. This is rarely a hardware fault and is usually due to “Motion Zones” or “Cool-down” periods.
Adjusting Motion Zones:
Open your doorbell app and look at the “Motion Settings.” Ensure that the area where visitors walk is actually covered by a “Zone.” If you have “People Only” mode turned on, the camera may ignore cars or animals, but it might also miss a person if they are wearing a hat or carrying a large box that obscures their human shape.
Managing Sensitivity and Frequency:
If your battery-powered doorbell is missing events, it might be set to “Battery Saver” mode, which increases the “cool-down” time between recordings. Set the frequency to “Frequent” or “Regular” to ensure it captures back-to-back events. Note that this will decrease your battery life significantly.
Step 4: Resolve App and Notification Lag
If your doorbell is working but you receive notifications 5 minutes after someone has left, the problem is likely your phone’s power management or the app cache. Smart home apps must be allowed to run in the background to deliver real-time alerts.
Software Fixes:
- Disable Battery Optimization: On Android and iPhone, go to settings and ensure the doorbell app is NOT “optimized” for battery saving. This prevents the OS from “killing” the app while your screen is off.
- Clear App Cache: Corrupted data in the app can cause laggy video previews. For a step-by-step on how to do this, check our guide on why smart home apps stop working.
- Update Firmware: Manufacturers push updates that improve “Wake-up” times for cameras. Always ensure your doorbell is running the latest firmware version.
Step 5: Address Wi-Fi Signal Penetration
The exterior wall of your house is a major barrier for Wi-Fi. Brick, stucco, and metal siding can reflect signals, leading to the “Black Screen” or “Connection Failed” error when you try to view the live feed.
Because doorbells are mounted outside, they often have the worst signal strength of any device in your home. Check the **RSSI (Signal Strength)** in the device health section of your app. If the number is higher than -65 (e.g., -70 or -80), the signal is too weak for HD video. Moving your router closer to the front door or installing a Wi-Fi mesh node just inside the entryway will usually solve the problem instantly.
Step 6: Dealing with Extreme Weather and Sun Exposure
Video doorbells are designed for outdoor use, but they have limits. Direct sunlight for 8 hours a day can cause the plastic lens to “fog” or the internal battery to overheat and shut down. If your doorbell works in the morning but fails in the afternoon, heat is likely the culprit.
Maintenance Tips:
- Install a Shroud: You can buy small plastic “hoods” or “sunshields” for your doorbell to keep it in the shade and protect the lens from rain streaks.
- Clean the Motion Sensor: Dust and spiderwebs can build up over the PIR (Passive Infrared) sensor, preventing the doorbell from detecting heat signatures (motion). Wipe the sensor with a microfiber cloth once a month.
- Protect Against Surges: During a storm, power surges can travel through the doorbell wires and fry the unit. Ensure your transformer is plugged into a protected circuit.
When to Perform a Factory Reset
If you have verified the voltage, adjusted the settings, and optimized the Wi-Fi but the doorbell still won’t ring or record, a factory reset is the final DIY step. This will remove the doorbell from your account and wipe all settings.
To reset most doorbells, you must remove the unit from its mounting bracket and hold the “Setup” or “Reset” button for 15–20 seconds. Once the light cycles through its colors, you will need to set it up as a new device in your app. This often clears out deep-seated software bugs that prevent the camera from communicating with the manufacturer’s cloud servers.
Conclusion
Repairing a smart video doorbell that isn’t ringing or recording is usually a matter of ensuring it has enough electrical “juice” and a clear path to your Wi-Fi router. By upgrading your transformer, adjusting your motion zones, and keeping the app permissions optimized, you can ensure your front door is always protected.
A smart doorbell is only as good as its connection. Regular maintenance, such as cleaning the lens and checking the battery health, will prevent the most common failures and keep your home’s most important security sensor fully operational year-round.