
Blog
How to Fix a Leaky Faucet in 10 Minutes

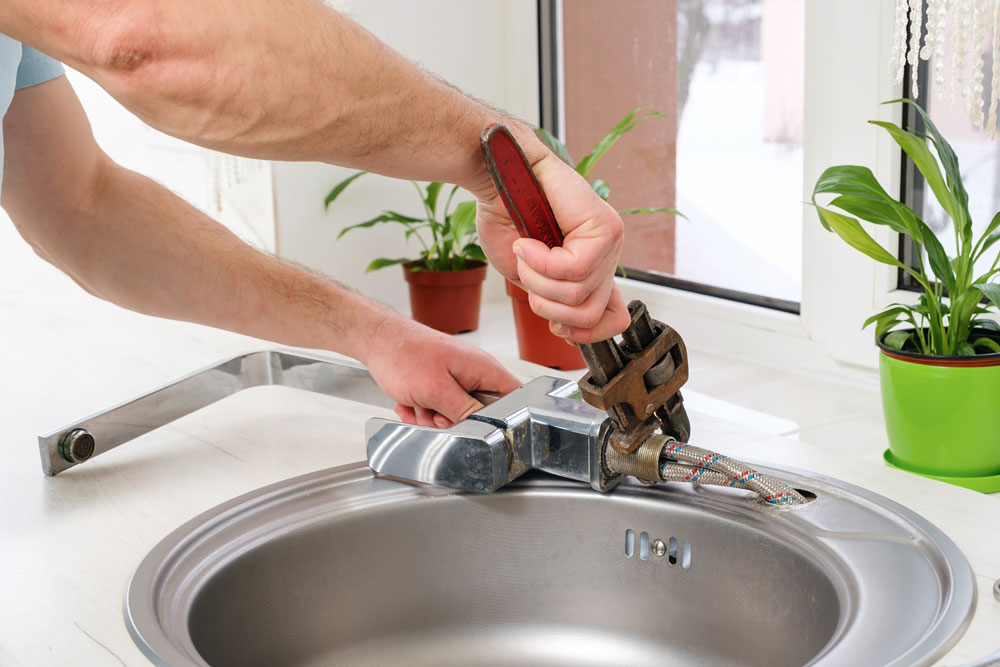
How to Fix a Leaky Faucet in 10 Minutes (DIY Guide)
A leaking faucet might seem like a small problem, but over time it can waste a surprising amount of water and increase your utility bills. The good news is that fixing a leaky faucet is one of the easiest DIY home repairs you can do. In most cases, the issue is caused by a worn washer, O-ring, or cartridge that needs replacement.
This guide will show you how to quickly diagnose and repair a dripping faucet using basic tools that most homeowners already have.
Common Causes of a Leaky Faucet
- Worn out rubber washer
- Damaged O-ring
- Faulty faucet cartridge
- Loose or corroded valve seat
- Mineral buildup inside the faucet
Tools You Will Need
- Adjustable wrench
- Screwdriver
- Replacement washer or cartridge
- Plumber’s tape
- Cleaning cloth
Step 1: Turn Off the Water Supply
Before starting any plumbing repair, turn off the water supply. Look under the sink for the shut-off valves and turn them clockwise. Turn on the faucet to release any remaining water pressure.
Step 2: Remove the Faucet Handle
Use a screwdriver to remove the screw holding the handle in place. Once removed, gently pull off the handle to expose the faucet stem or cartridge.
Step 3: Remove the Valve or Cartridge
Use an adjustable wrench to loosen and remove the valve or cartridge. Be careful not to damage surrounding parts while removing it.
Step 4: Inspect and Replace Worn Parts
Check the washer, O-ring, or cartridge for damage. If they look worn, cracked, or flattened, replace them with new parts. These replacement parts are inexpensive and available at most hardware stores.
Step 5: Reassemble the Faucet
After replacing the faulty parts, reassemble the faucet by reversing the steps. Tighten everything securely but avoid overtightening.
Step 6: Turn the Water Back On
Turn the water supply valves back on and test the faucet. If the repair was successful, the dripping should stop immediately.
Helpful DIY Tips
- Take a photo before disassembling so you remember how parts fit together.
- Bring the old washer or cartridge to the hardware store to match the size.
- Clean mineral buildup with vinegar while the faucet is open.
When to Call a Professional
If the faucet continues leaking after replacing the washer or cartridge, the issue could be deeper in the plumbing system. In that case, contacting a professional handyman or plumber is recommended.
Final Thoughts
Fixing a leaky faucet is a quick DIY repair that can save water, reduce your bills, and prevent further plumbing damage. With just a few tools and a replacement washer, most homeowners can complete this repair in under 10 minutes.